|
 |
 |
 |
 |
 |
 |
|
Online Video Tutorial for quilting your project on my YouTube Page Here
or Step-By-Step Quilting Your Project Below
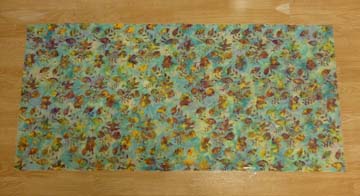
Lay out your backing on a flat surface with the wrong side facing up, making sure the fabric is completly flat. Secure the edges with pins or tape about every 10" - 12" and at each corner to keep it well in place. |
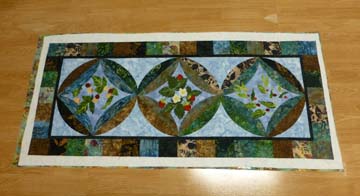
Lay your batting over the backing, making sure the batting is completely flat, without any wrinkles. Next lay your quilt top over the batting, and spread flat. |
Pin all three layers together with safety pins. Pin along the edges, each corners and throughout the center. |
For larger projects you may need some help. |
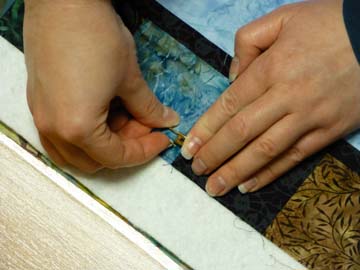
A good rule of thumb is to place each pin the distance between your thumb and pinkie finger. |
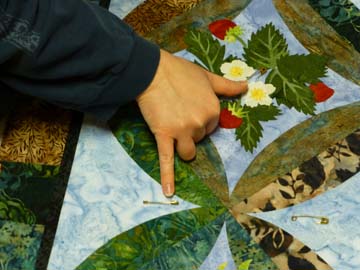
When pinning a project with fusible webbing, always avoid pinning directly through the fusible appliques because the pins will leave small holes. Pin onto the background fabrics whenever possible. |
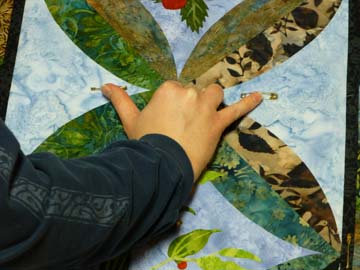
Quilt your project. I usually use clear thread and free-motion quilt onto the background, within an 1/8" of the applique pieces. If you choose to quilt directly onto the applique pieces, use a matching color thread rather than clear since the machine's needle will leave small holes in the fusible appliques. This isn't as noticable on medium to dark color fabrics, but VERY noticable on light colors. As long as you've used a permanent fusible webbing correctly (see the Fusible Web page on this site), your appliques do not need to be secured with quilting. They can be washed repeatedly and remain fused (use the gentle or hand-wash cycle). |
Close up on free-motion quilting around an applique using clear thread. |